Start with what you want to make
Before choosing furniture or containers, picture the activity you want to do most often. A space for sketching needs different supplies from one for sewing, journaling or assembling paper crafts. Pick one main activity to guide the setup. You can still do other things there, but a clear starting point keeps a small space from becoming storage for every possible project.
Next, identify the smallest workable footprint. It might be one end of a dining table, a narrow desk, a shelf beside a chair or a tray you can carry to a comfortable spot. Test the location with a short session before rearranging the room. Can you sit or stand comfortably? Can you reach what you need without spreading across the whole surface? The answers will tell you more than an idealized picture of a studio.
Keep the working surface easy to clear
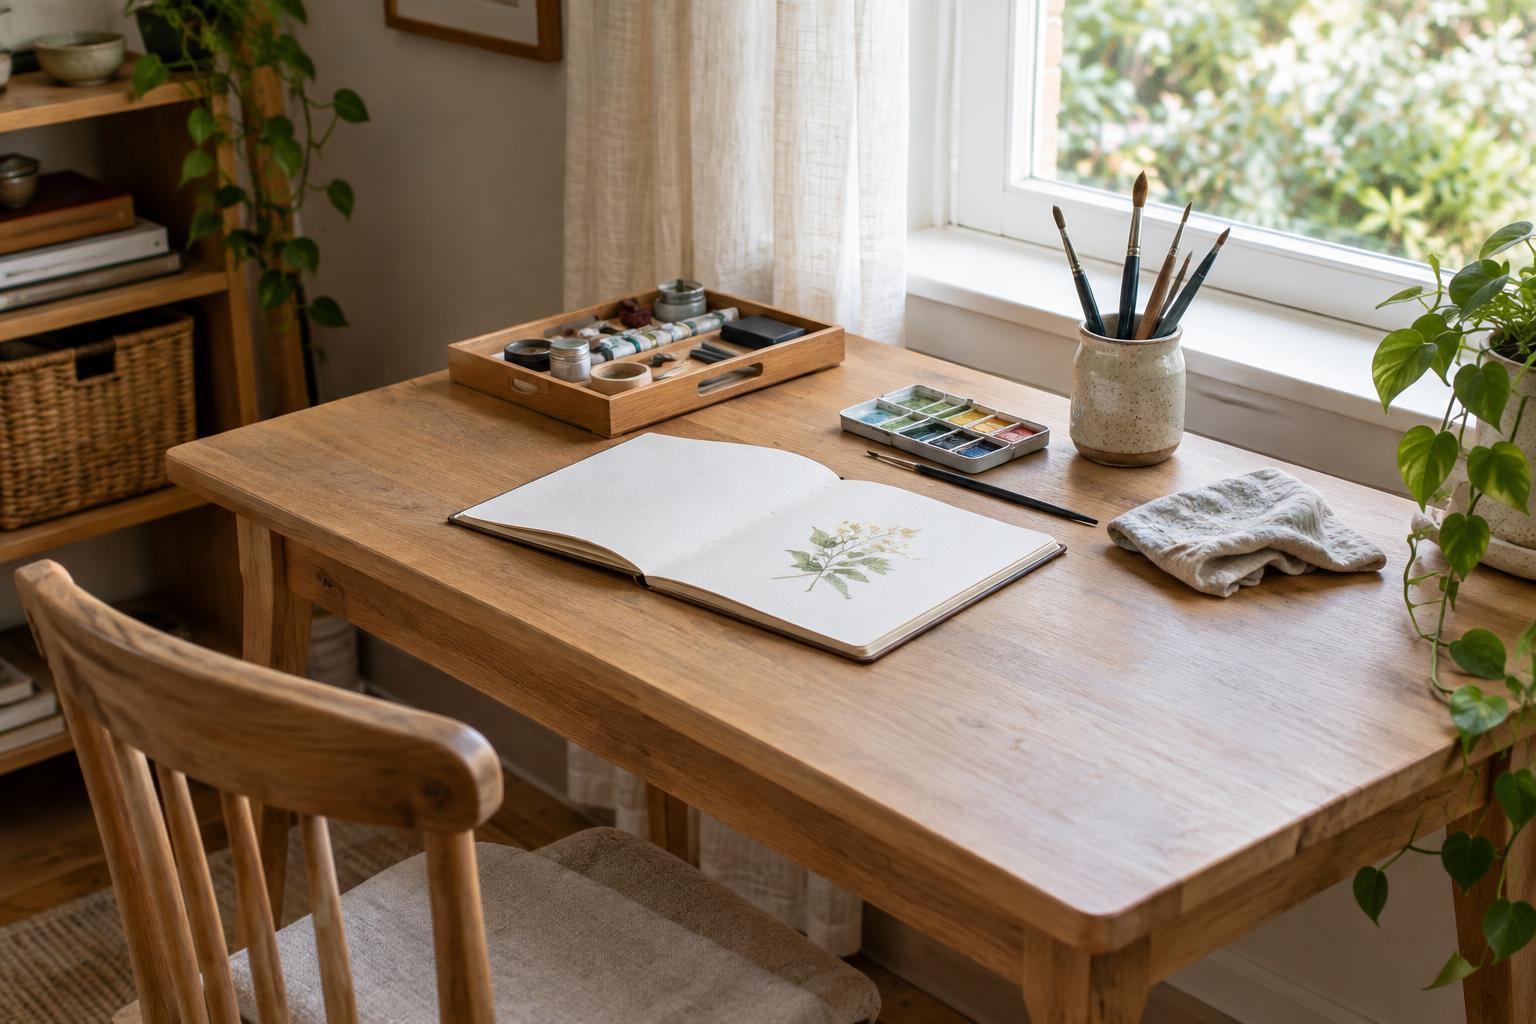
The most useful feature of a small creative space is room to work. Leave enough open surface for the task itself: a notebook that can lie flat, fabric that can be turned or materials that can be laid out. If the area serves another purpose, use a portable base such as a sturdy tray, cutting mat or shallow box lid. It gives your project a defined place and makes it easier to move when the table is needed for something else.
Pay attention to light and comfort as well. Try to place the work where you can see details without leaning forward or squinting. If daylight is limited or you tend to create in the evening, an adjustable lamp may help you direct light onto the task. Choose a chair and working height that feel comfortable for the time you usually spend there. You do not need a perfect arrangement on day one; adjust it after a few sessions.
Give everyday supplies an obvious home
Keep your most-used tools close and put occasional supplies elsewhere. For drawing, that might mean a sketchbook and a few favorite pens within reach, with spare paper stored on a shelf. For mending, it might mean a small container for needles, thread and scissors, rather than an entire sewing collection on the table. A limited set of ready supplies makes it simpler to begin and simpler to tidy up.
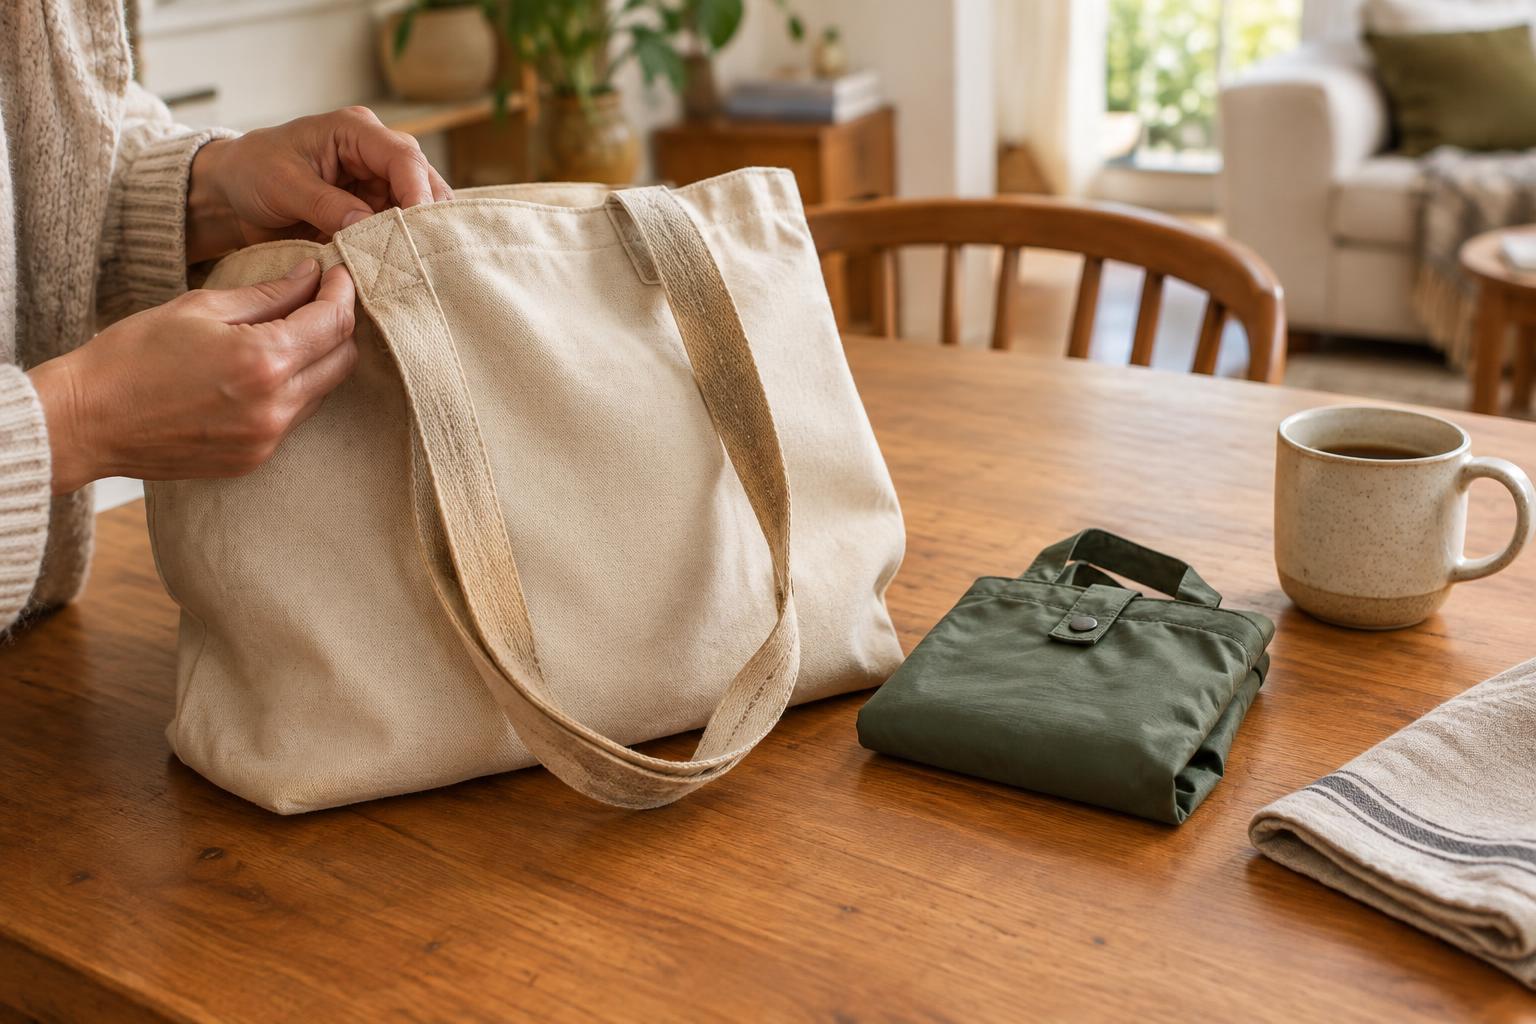
Choose storage that matches how you use the space. A cup can hold tools you reach for constantly; a lidded box can contain small pieces that would otherwise scatter. If your setup moves between rooms, a handled caddy or one dedicated bag may be more useful than several decorative containers. Label anything whose contents are not visible, and keep sharp tools or materials that need care stored safely when the space is unattended.
Make starting easier than putting it off
A ready-to-use space does not have to look as though a project is always in progress. It means the first step is simple. You could leave a notebook open to a blank page, keep a current project in its own folder or place the next piece of material on top of its container. These small cues can remind you what you wanted to do without turning the area into clutter.
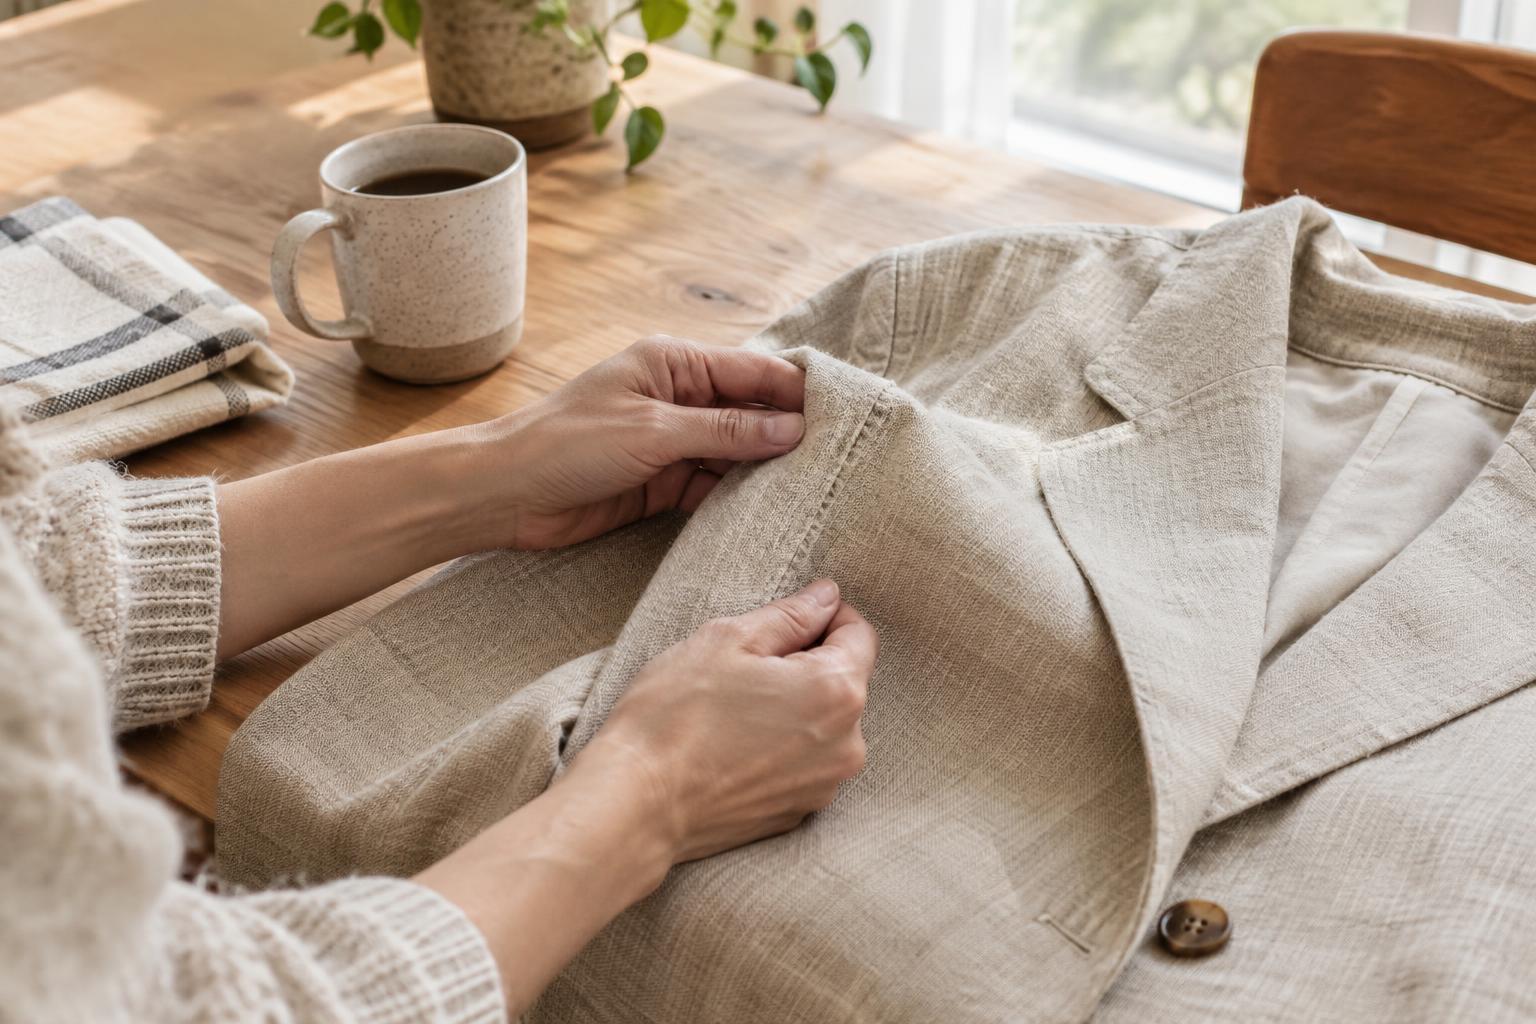
It also helps to define a session that fits ordinary days. Ten minutes of sketching, writing or stitching may feel more approachable than waiting for a free afternoon. Keep a short note of where you stopped and what comes next, especially for projects with several steps. When you return, you can spend your available time making rather than trying to remember your plan.
Build in a gentle reset
At the end of a session, aim for a reset that takes only a few minutes. Put tools back in their homes, collect scraps and protect anything that needs to dry or stay flat. If the surface is shared, move the project into a designated tray or box so it can be brought out again without searching for its parts. Leaving the next step visible in a note can preserve your momentum even when the materials are packed away.
Let the space change with your habits. If one container is always in the way, move it. If you never use a supply, give it a less prominent home. The goal is not a picture-perfect corner; it is a place that welcomes you back and suits the way you actually make things.